Photo editing or photo manipulation can be a fun and creative process only photographers and designers knows better, but it can also be time-consuming and challenging, especially if you’re just starting out. Lightroom is a powerful tool by Adobe, that can help make the editing process easier and more efficient. One of the best features of Lightroom is its presets, which are like magical filters for your photos. In this ultimate guide, we will walk you through everything you need to know about using Lightroom presets to edit your photos like a pro, even if you’re a beginner.
What Are Lightroom Presets?
Let’s start with the basics. Lightroom presets are like ready-made editing recipes for your photos. They are a set of pre-defined adjustments that you can apply to your images with just one click. These adjustments can include things like changing the exposure, contrast, color saturation, and many other settings that affect the look of your photo.
Imagine you’re baking cookies, and instead of measuring each ingredient separately, you have a magical jar that instantly adds the perfect amount of sugar, flour, and chocolate chips to your dough. That’s what Lightroom presets do for your photos – they make the editing process faster and more convenient.
You may be interested in the following related articles as well.
- 25 New Procreate Brushes For Pro Designers
- Logo Design In Adobe Illustrator – 25 Best Tutorials
- 50 Best Adobe Photoshop Tutorials Of 2020
- 15+ Simple and Clean Resume Templates to Land Your Dream Job
Lightroom Presets for Photos
The beauty of Lightroom presets is that they allow you to experiment and learn about photo editing. As you apply different presets to your photos, take note of how they affect your images. Pay attention to changes in exposure, color, and contrast. By doing this, you’ll gradually develop a better understanding of how each adjustment works.
List of Lightroom Presets:
In this article we gathered 15+ Best Lightroom Presets for desktop and smartphones which are created with love & passion.
Lightroom Presets for Photos: Transforming Your Photo Editing Workflow
These Lightroom presets are quick, one-click install, fully adjustable and customizable to fit your taste, style and lighting conditions. You can download directly to your phone. This Preset is compatible with Lightroom Mobile on a smart phone.
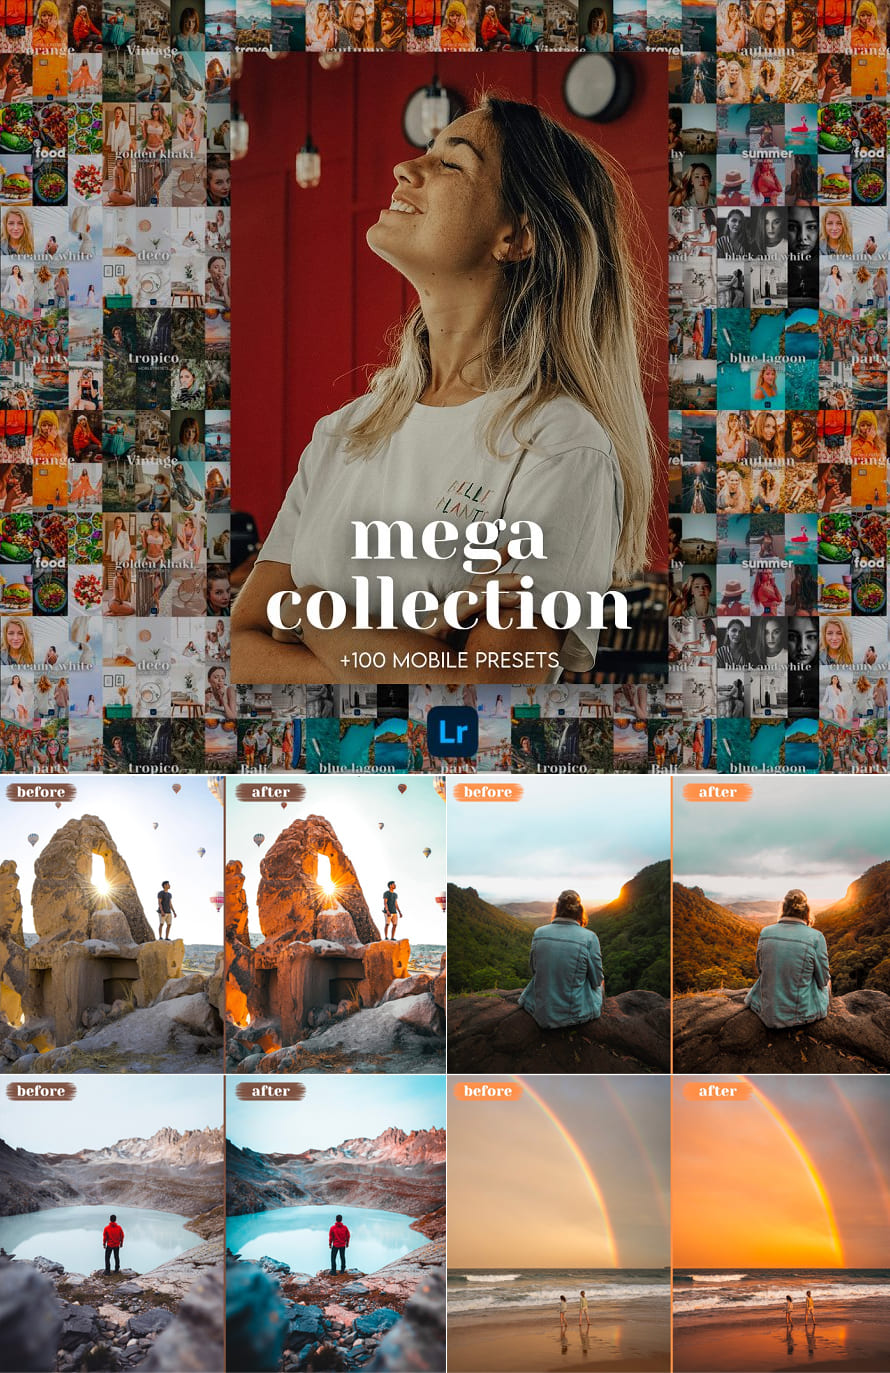
2022 Mega Collection (+100 Presets)
2022 Mega Collection was created from our bestsellers and our best presets. This collection brings together +16 packs including +100 Lightroom Mobile presets created especially by photographers. In this pack, you will find everything you need to get a professional feed.
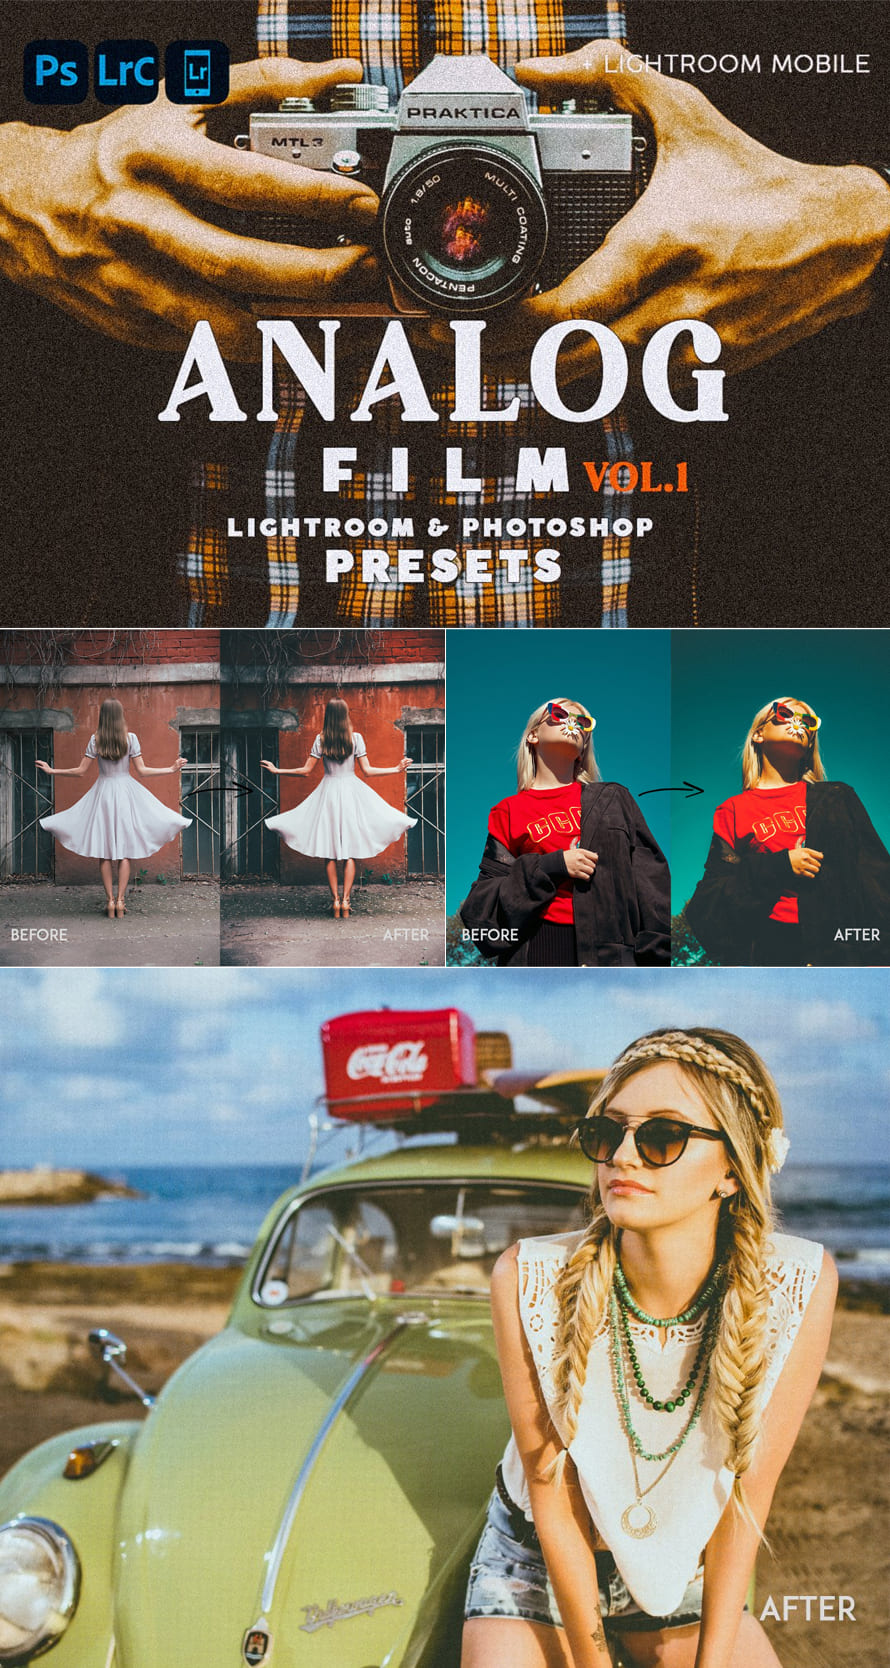
Analog Film Lightroom Presets
10 Analog Film presets for Adobe Lightroom for desktops and mobile devices for influencers, bloggers and photographers.
Natural Preset Lightroom Presets Dekstop Mobile
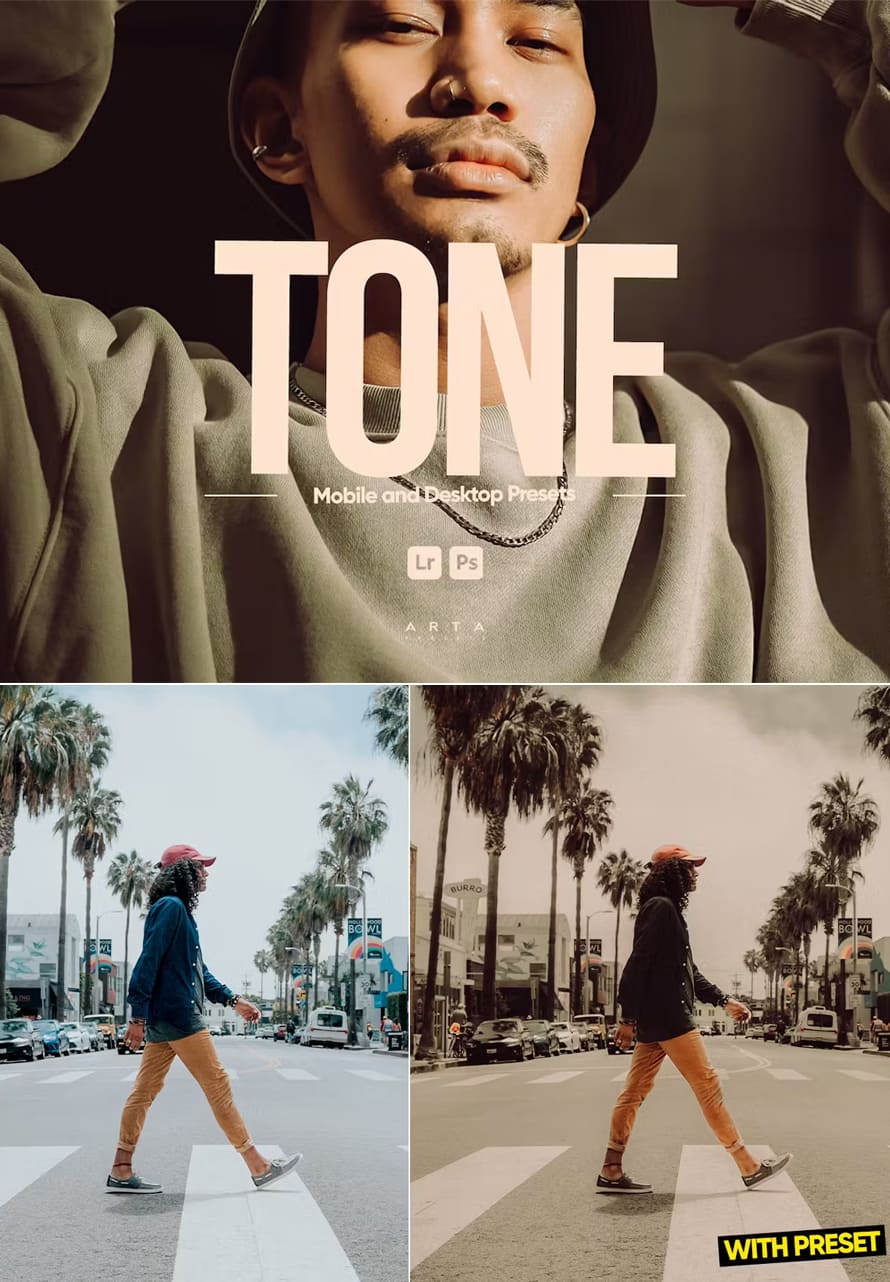
Arta Tone Presets For Lightroom
These presets are perfect for a constant instagram feed in a beautiful style with modern colours for a travel, photography, fashion or lifestyle blogger and anyone who wants to bring their photos to a better quality. These presets are thoroughly created and it is a very good basis for your photos to take them to the next level.
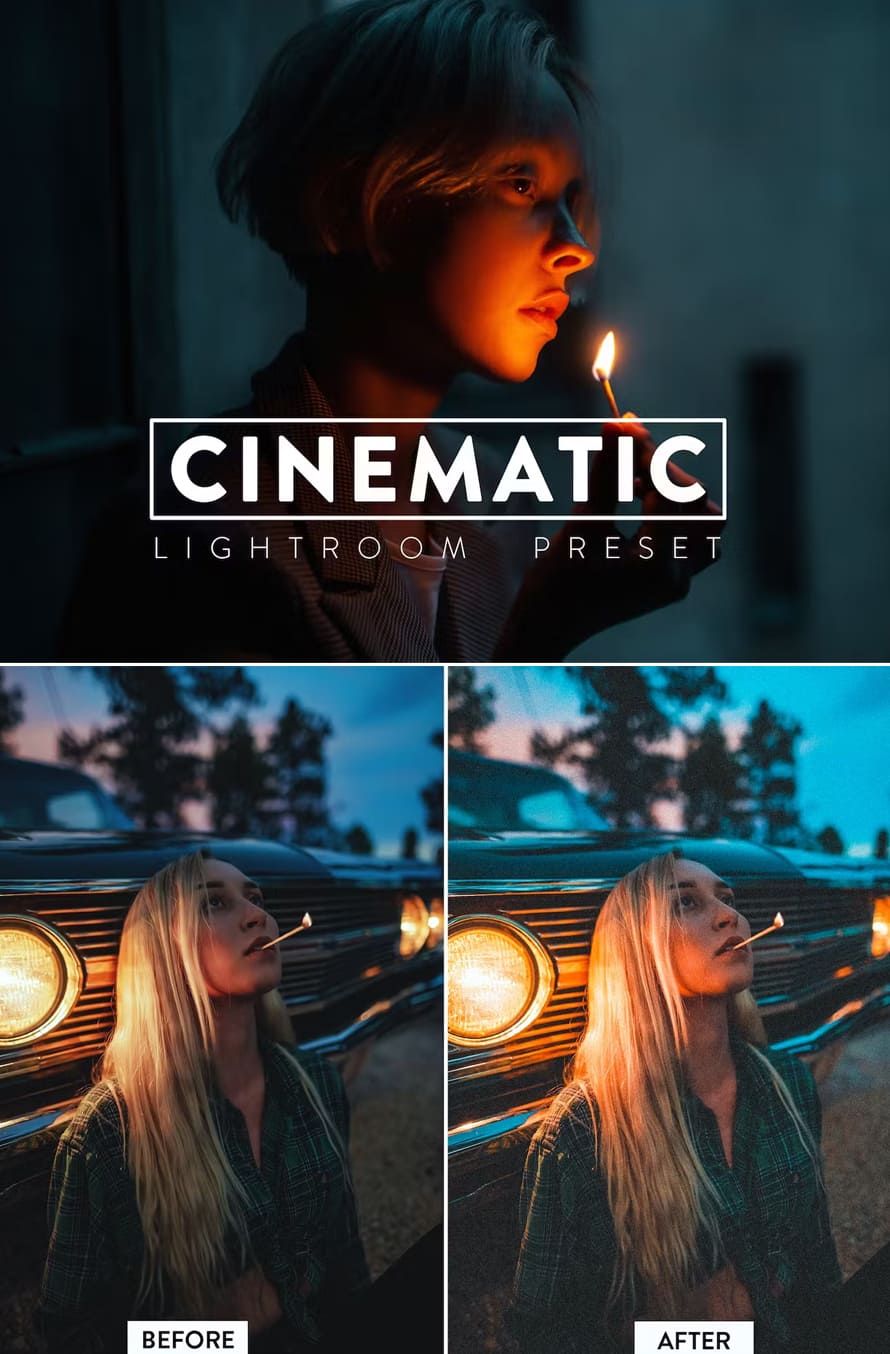
10 Cinematic Lightroom Presets
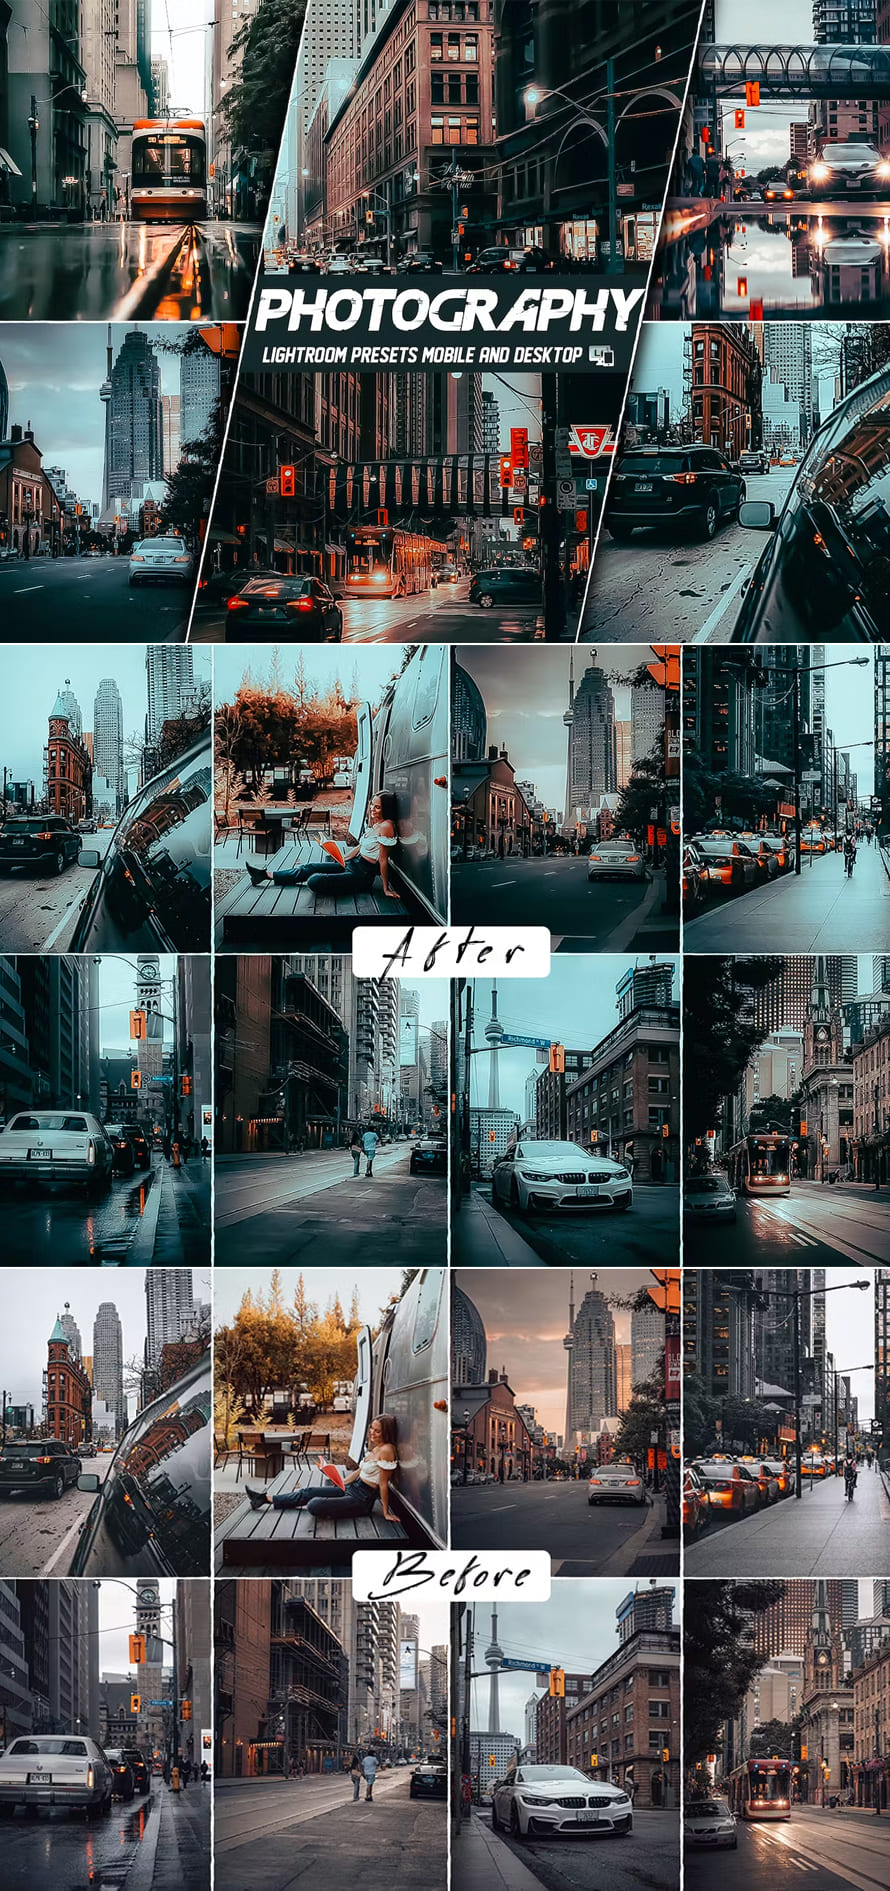
Photography Lightroom Presets
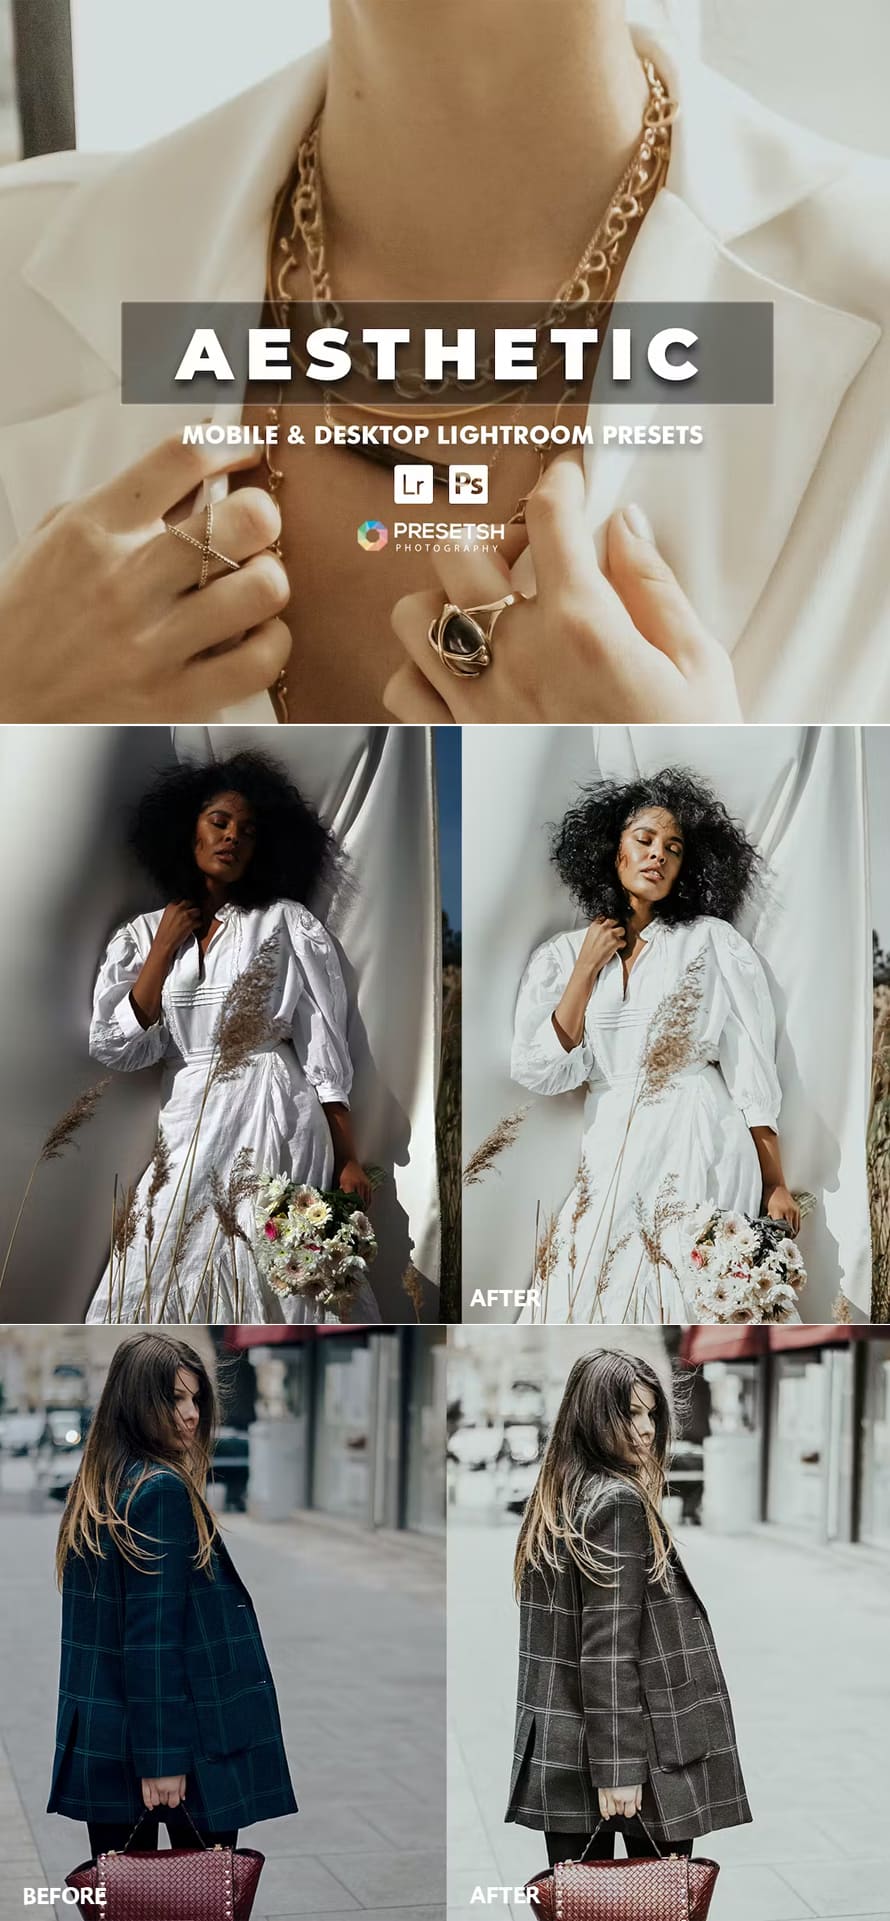
Aesthetic Lightroom Presets
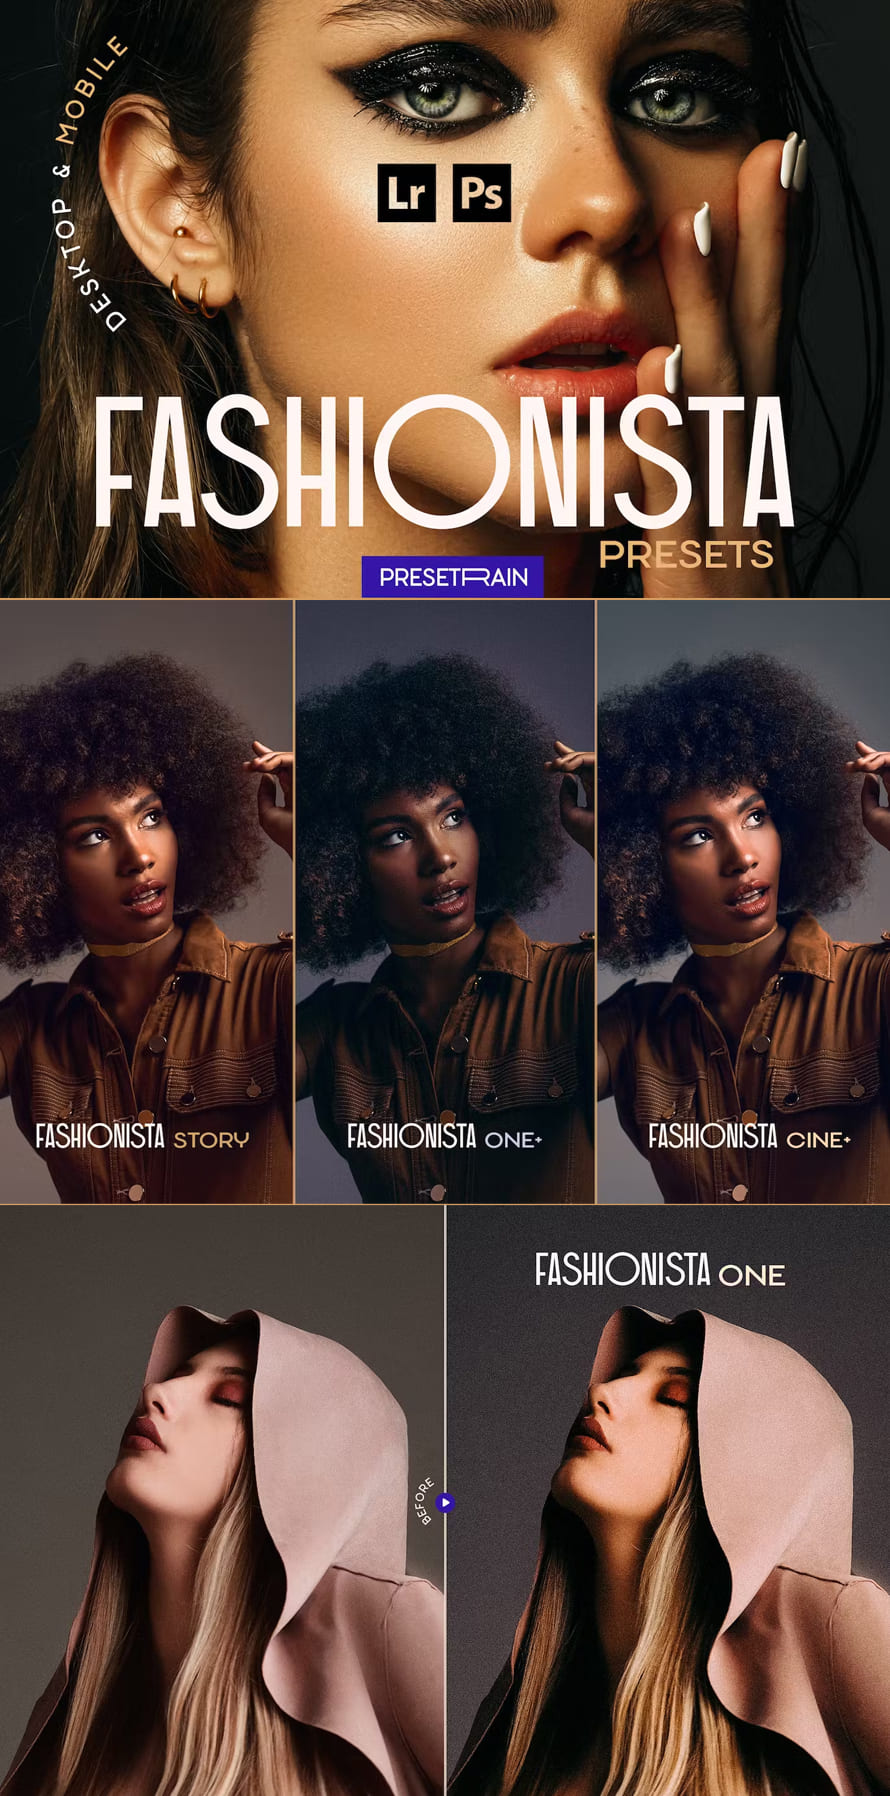
Fashionista Lightroom Presets
Fashionista collection features 10 authentic toning lightroom presets for photos fashion, beauty, portrait and fine-art photography. Easily style your editorial, studio or location shooting and take your post-processing workflow to the next level!
Food Lightroom Presets
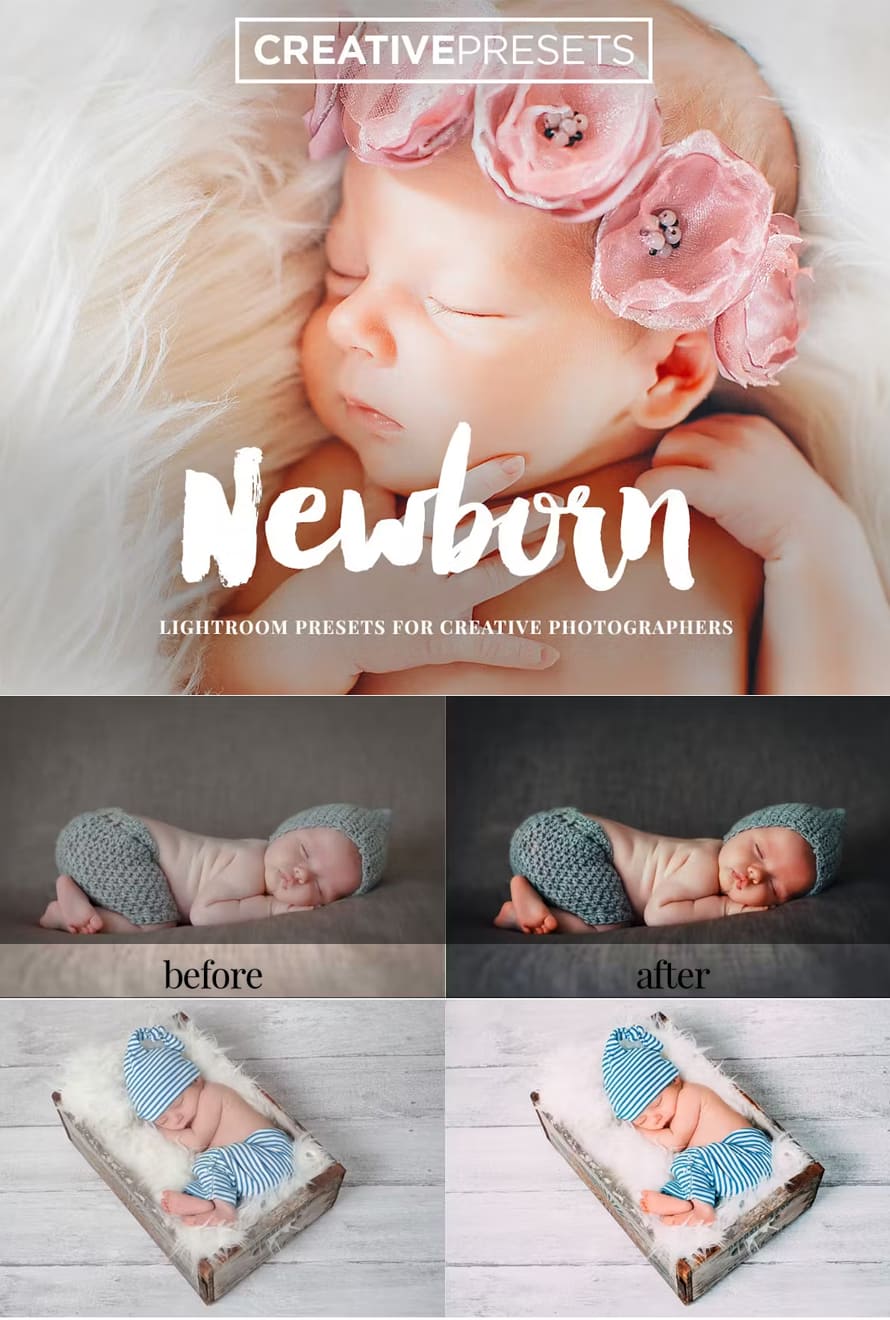
New Born Lightroom Presets
Newborn is a collection of 30 professional lightroom presets for photos carefully handcrafted to help your newborn workflow process. They have been created with precise calibration adjustments and clean arrangement to create soft warm or cool clear portraits. Apply them to achieve a dreamy and modern look.
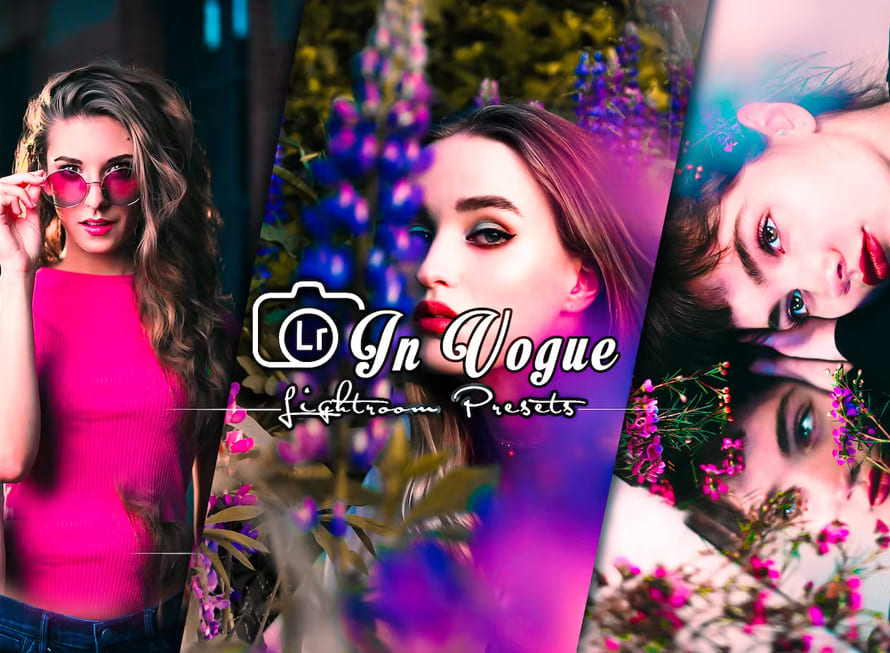
In Vogue Lightroom Presets
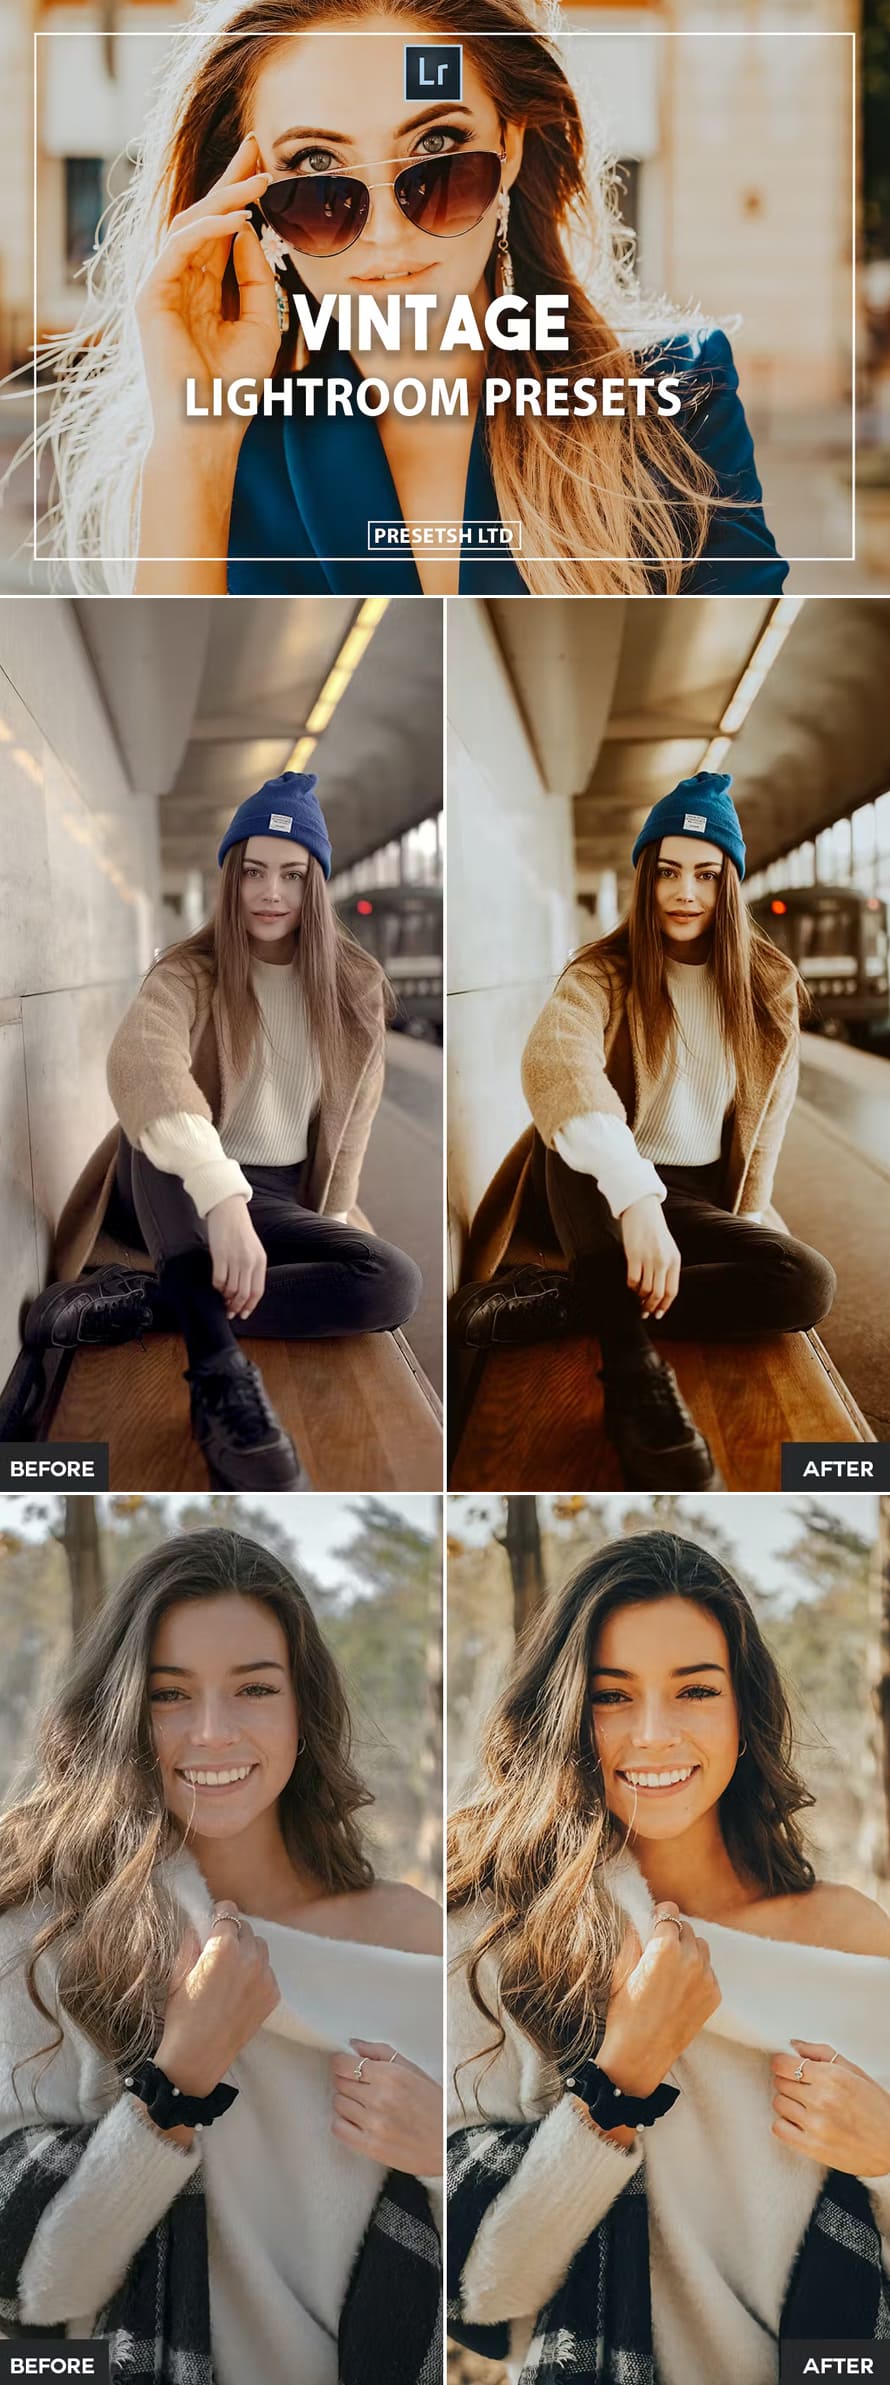
Vintage Lightroom Presets
Vintage Presets best lightroom presets for photos to give your photos that popular and attractive vintage look, Each preset is fully customizable in case you want to adjust the brightness, shadows, or other adjustments.
Fashionova Lightroom Presets
These lightroom presets for photos are perfect for creating a solid Instagram portfolio with an aesthetic style and modern colors, you can create unique photos in a moment.
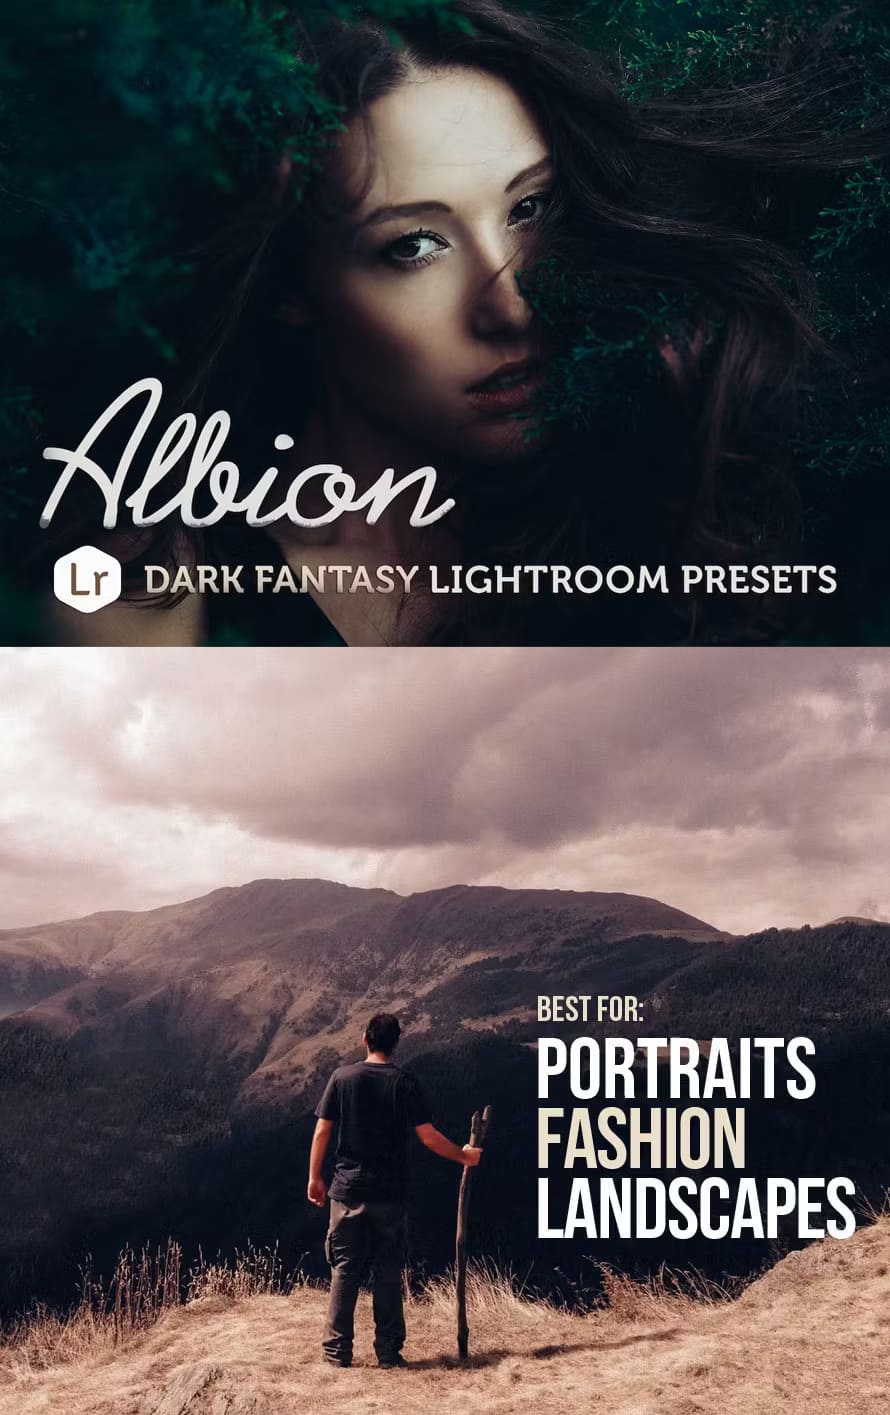
Albion Dark Fantasy Lightroom Presets
Albion collection provides 48 editorial quality toning presets. They are great for bringing a rich and dark moody tone to your photographs, adding atmosphere. These lightroom presets for photos are specially designed for natural light portraits, Albion presets can also work with beauty, fashion & landscape photography.
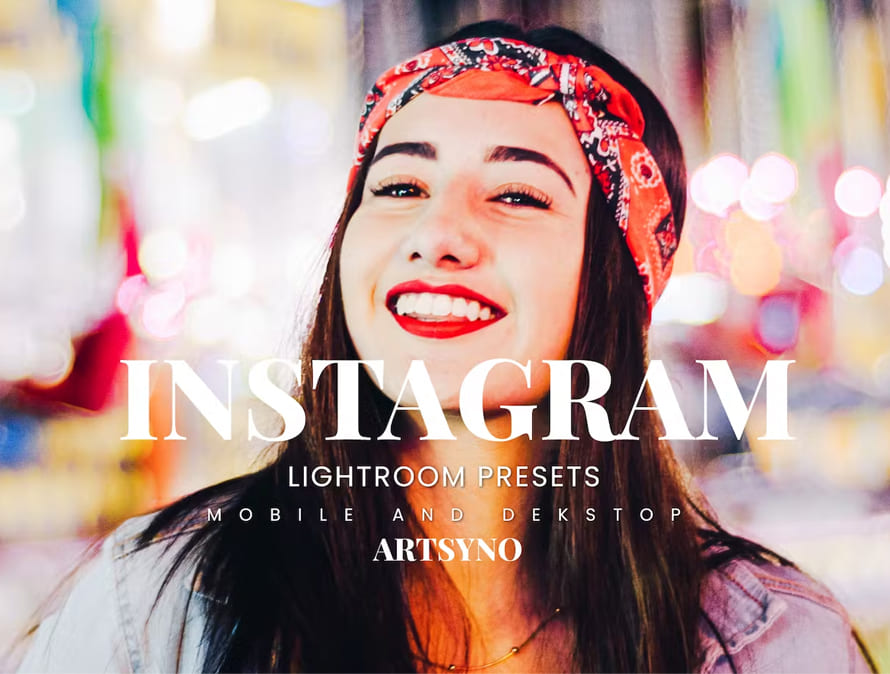
Instagram Lightroom Presets Dekstop And Mobile
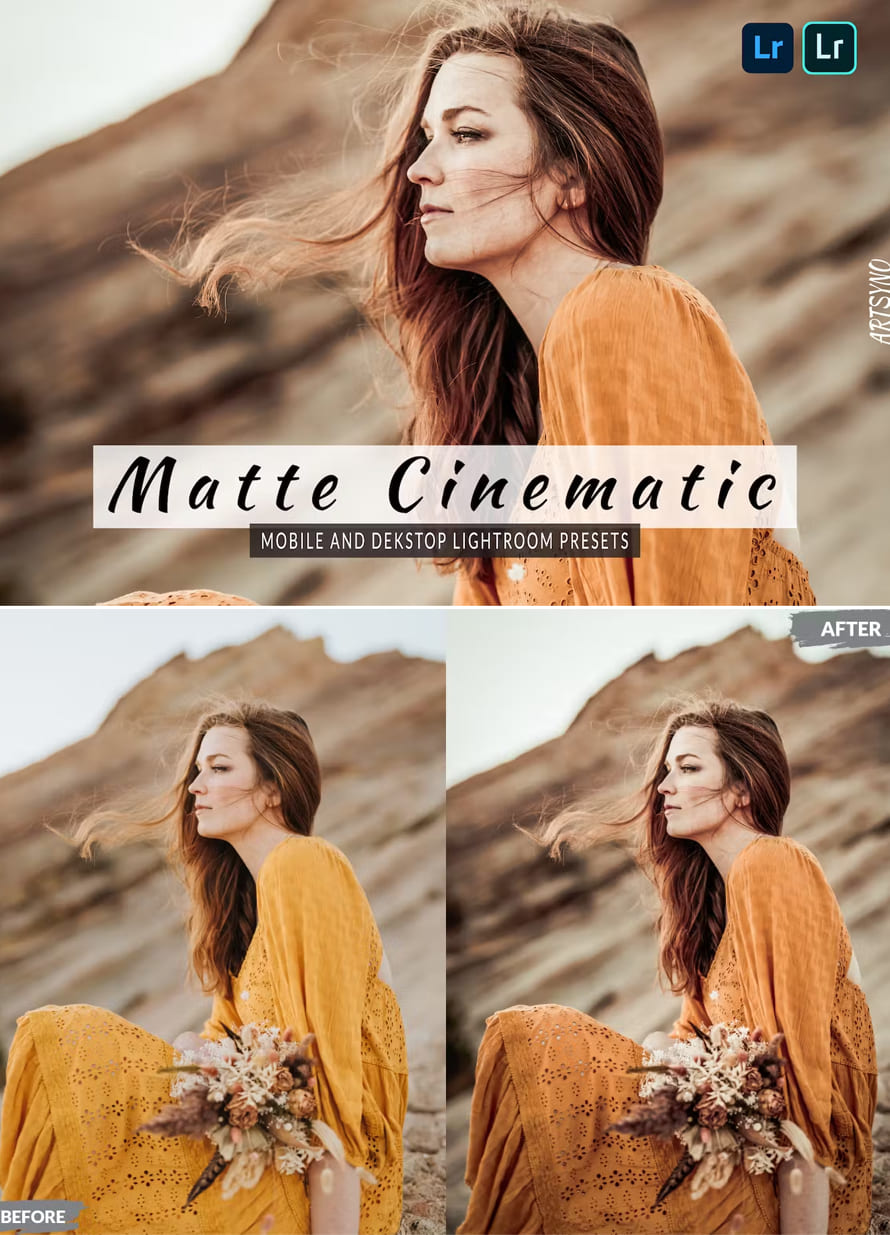
Matte Cinematic Lightroom Presets Dekstop Mobile
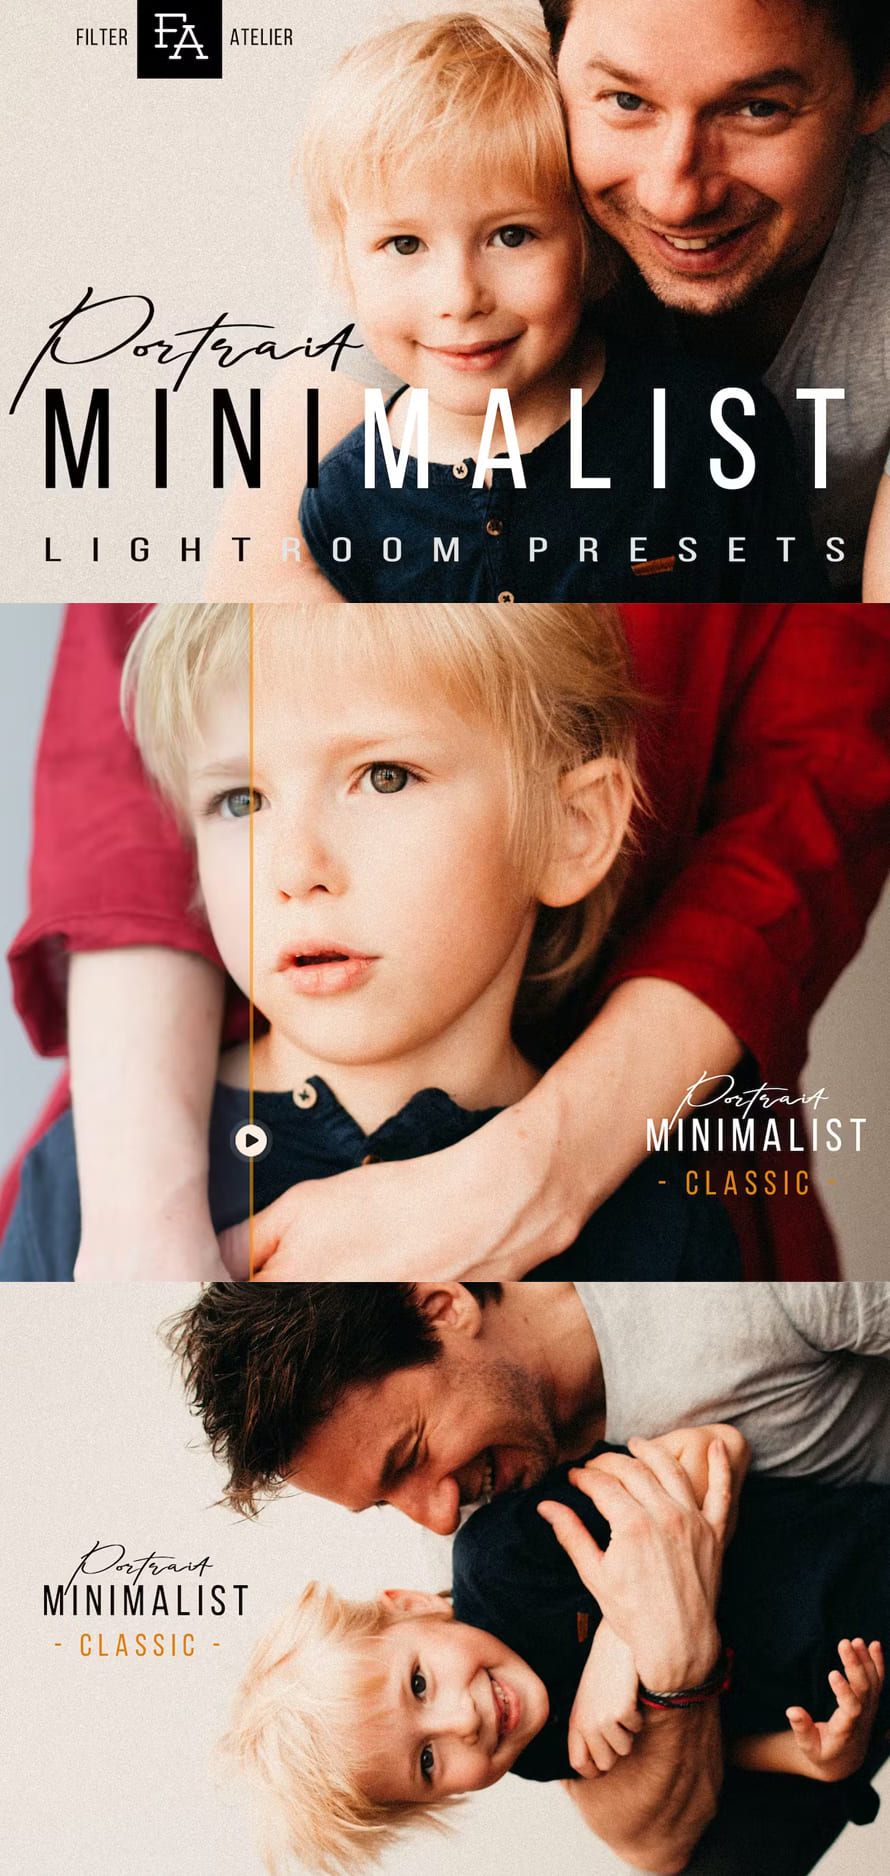
Portrait Minimalist Presets
Portrait Minimalist is a set of warm toning presets for natural light and studio portraiture, lifestyle and editorial photography. Great for both photography enthusiasts and professionals, these are quite versatile and easy to use lightroom presets for photos in almost any workflow or custom project.
How to Install Lightroom Presets
Before you can start using presets, you need to know how to install them. Here’s a simple step-by-step guide:
- Download Presets: First, you’ll need to find and download the lightroom presets for photos you want to use. You can find free presets online, or you can purchase premium presets from photographers and websites.
- Open Lightroom: Launch Adobe Lightroom on your computer.
- Access the Develop Module: Click on the “Develop” module in Lightroom.
- Locate the Presets Panel: On the left-hand side of the Develop module, you’ll see a panel called “Presets.” Click on it to expand the panel.
- Click on the “+” Icon: At the top right of the Presets panel, you’ll see a small “+” icon. Click on it.
- Import Presets: A window will pop up, allowing you to import your downloaded presets. Locate the presets on your computer and select them. Then, click the “Import” button.
- Find Your Presets: After importing, your presets will appear in the Presets panel. You can organize them into folders if you have many presets.
Now that your presets are installed, you’re ready to start using them to edit your photos.
Applying Lightroom Presets
Using presets is simple and can save you a lot of time compared to manual editing. Here’s how to apply them:
- Select Your Photo: Import the photo you want to edit into Lightroom by clicking the “Import” button and selecting your image.
- Choose a Preset: In the Develop module, locate the Presets panel on the left. You’ll see a list of your installed presets. Click on a preset to apply it to your photo.
- Adjust the Intensity: Presets are not one-size-fits-all. You can adjust the intensity of the preset’s effect by moving the “Amount” slider under the preset name. This allows you to make the preset’s changes more subtle or more dramatic, depending on your preference.
- Fine-Tune Your Edits: Presets are a great starting point, but sometimes you might want to make additional adjustments. You can use Lightroom’s other editing tools to fine-tune your photo further. These tools include adjusting exposure, contrast, colors, and more.
- Save Your Edits: After you’re satisfied with your edits, remember to save your photo. Click “File” and then “Export” to save your edited image as a separate file.
Creating Your Own Presets
While using presets created by others is convenient, you can also create your own custom presets in Lightroom. This is a great way to develop your unique style and save time on future edits. Here’s how you can create your own presets:
- Edit a Photo: Start by editing a photo exactly how you want it to look.
- Open the Develop Presets Panel: In the Develop module, find the Presets panel and click on the “+” icon again.
- Name Your Preset: A dialog box will appear. Give your preset a name that reflects the changes you made to the photo.
- Choose Settings to Include: Lightroom will give you the option to choose which settings to include in your preset. You can select or deselect specific adjustments. For example, you might want to include changes to exposure and color but exclude cropping.
- Save Your Preset: After selecting your desired settings, click “Create” or “Save” to create your custom preset.
Now, you can use this custom preset on any future photos to quickly apply your preferred editing style.
Organizing Your Presets
As you accumulate more presets, it’s important to keep them organized so you can easily find and use them. Here are some tips for organizing your Lightroom presets:
- Create Folders: In the Presets panel, you can create folders to group similar presets together. For example, you can have separate folders for portrait presets, landscape presets, or black-and-white presets.
- Rename Presets: If a preset has a name that doesn’t make sense to you, feel free to rename it so that it’s more descriptive.
- Delete Unused Presets: Over time, you might find that you have presets you no longer use. You can delete these to declutter your preset library.
- Favorites: Lightroom allows you to mark presets as favorites. This can be a handy way to quickly access the presets you use most frequently.
Adobe Lightroom presets are a fantastic tool for both beginners and experienced photographers. They simplify the photo editing process, save time, and can help you achieve stunning results. Whether you’re using ready-made presets or creating your own, Lightroom presets are a valuable addition to your photo editing toolkit. So, start exploring, applying, and creating presets to take your photos to the next level. With a little practice, you’ll be editing like a pro in no time.
The post 15+ Lightroom Presets for Photos: Transforming Your Photo Editing Workflow first appeared on Graphic Design Junction.
Courtesy: https://graphicdesignjunction.com/2023/09/15-lightroom-presets-for-photos/


